Enhancing Home Interiors with High-End Wainscoting: A Comprehensive Guide
Key Takeaways:
- Understand what high-end wainscoting is and its benefits for home interiors.
- Learn about different materials and styles of wainscoting.
- Discover helpful tips for selecting the right wainscoting for your home.
- Explore practical steps for installing wainscoting.
- Consider insights backed by data and expert opinions.
High-end wainscoting can transform any room, adding style and protection to your walls. Finding the right high end library and wainscoting options can significantly influence the final look of your space. This detailed guide delves into enhancing your home interiors using wainscoting, providing the necessary insights and steps to make an informed choice.
What is Wainscoting?
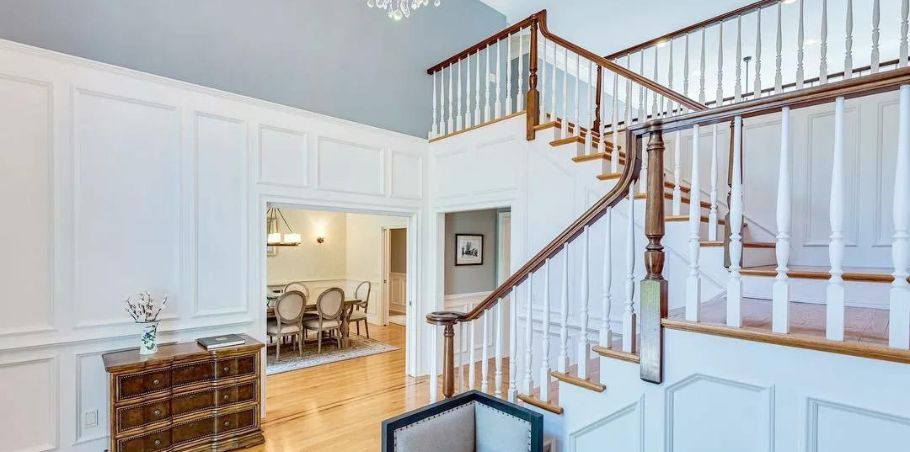
Wainscoting refers to applying decorative wood paneling to the lower section of walls, typically occupying the lower third to half of the wall’s height. Its origins trace back to medieval times when it was used to insulate stone walls. Over the centuries, wainscoting has become a popular decorative element in modern homes, adding a touch of elegance while protecting walls from damage.
Benefits of High-End Wainscoting
Beyond just being decorative, luxury wainscoting has other benefits. It helps preserve the look of walls over time and offers extra protection, especially in high-traffic areas like kitchens and hallways. It can improve a room’s acoustics by dampening sound, contributing to reduced energy costs through its insulating properties, and significantly boosting the resale value of a home.
Types and Styles of Wainscoting
When considering wainscoting for your home, it’s essential to understand the different types and styles available, each offering unique charm and appeal:
- Beadboard: Narrow, vertical planks that provide a quaint, rustic feel, perfect for informal spaces like kitchens and bathrooms.
- Raised Panel: Elevated panels bordered with molding, offering a sophisticated and stately appearance ideal for formal settings.
- Flat Panel: Flat panels framed with clean, simple molding, providing a sleek and minimalist aesthetic for modern interiors.
- Overlay: Combining elements of both raised and flat panel styles, providing a unique, intricate design suitable for various settings.
Choosing the Right Materials
The choice of materials significantly impacts wainscoting’s durability, appearance, and maintenance needs:
- Wood: Offers a natural beauty and timeless appeal but requires regular maintenance and is susceptible to moisture damage.
- MDF: An economical alternative to wood, providing a smooth, uniform surface that can be easily painted.
- Vinyl: Moisture-resistant and easy to clean, ideal for bathrooms and kitchens, though lacking the elegance of real wood.
- PVC: Highly durable and moisture-resistant, perfect for high-traffic areas and damp environments.
Steps to Install Wainscoting
Installing wainscoting can be a fulfilling DIY project if you follow these steps carefully:
- Measure Your Walls: Measure the height and length of the walls to determine the materials needed.
- Purchase Materials: Based on your measurements, purchase sufficient panels, molding, adhesive or nails, caulk, and paint or stain.
- Cut Panels: Use a saw to cut the panels and molding to the correct dimensions.
- Apply a Level Line: Mark a horizontal line around the room where the top edge of the wainscoting will sit.
- Adhere Panels: Apply adhesive to the back of each panel and press it firmly against the wall.
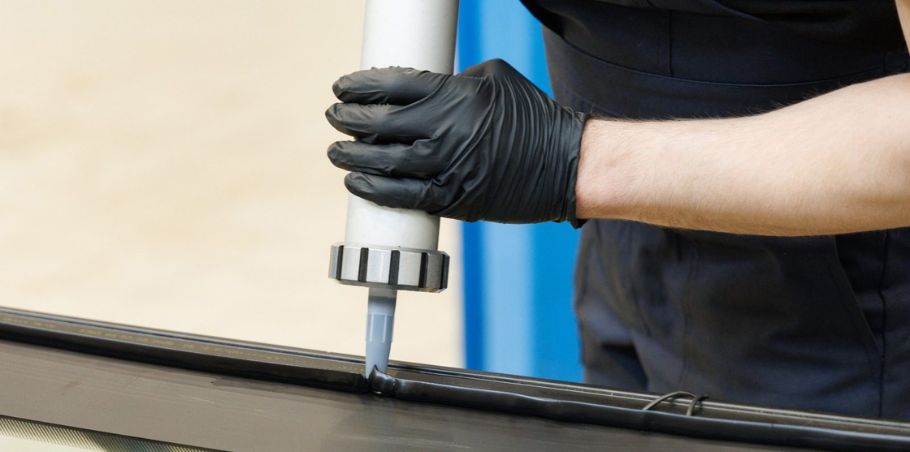
- Caulk Seams: Fill gaps between the panels and the wall with caulk.
Paint or Stain: To finish, paint or stain the wainscoting to match your decor.
If you gained new insights from this article, explore our blog, Gimkit, for more enlightening content.
Share this content:






Post Comment